Are you a new IRC user? Do you want to find your chats after logging off? Do you want to be always logged onto your favorite channels on IRC? This is for you.
What is ZNC?
ZNC is BNC software that allows clients to access messages sent to the IRC channel and networks they were logged onto. It acts as a proxy network for the client whereby instead of it ( the client) connecting to the IRC server, it connects to the computer running ZNC. All messages that were sent to the user are replayed once connection is resumed.
Installation
ZNC installation in this post will be demonstrated on Ubuntu. The steps are as follows:
Step 0
Like everything in computing, this is the first action item. All needed packages required by ZNC are installed in this step.
sudo apt-get update && sudo apt-get upgrade -y #to update Ubuntu to its latest version
sudo apt-get install build-essential checkinstall # to install build essential and checkinstall packages
sudo apt-get install libssl-dev #to install libssl-dev
Step 1
Download the latest version of ZNC. At this moment, ZNC version 1.8.2 is the latest on https://znc.in/releases/
wget http://znc.in/releases/znc-1.8.2.tar.gzStep 2
Expand the archive and move into the ZNC folder:
tar -xvf znc-1.*.tar.gz && cd znc*/
Step 3
Once inside the ZNC folder, run ./configure script to make sure the Ubuntu instance has all the needed prerequisites:
./configureIf not, you will need to install any missing packages prior to continuing.
Step 4
Once complete, compile ZNC and install it with the following commands:
sudo make
then run the command below to complete ZNC installation on Ubuntu:
sudo make installOnce complete, ZNC will be installed on your machine. Configuring it to access IRC will be the next step. 😉
Configuring ZNC
Step 1
Begin the configuration process by running the command below
znc --makeconfThis command will launch an interactive script which will allow you to configure ZNC as you’d want.Below is an example of the interactive script and some of the choices I used when setting up ZNC.
[ .. ] Checking for list of available modules...
[ !! ] WARNING: config [/home/ubuntu/.znc/configs/znc.conf] already exists.
[ ** ]
[ ** ] -- Global settings --
[ ** ]
[ ?? ] Listen on port (1025 to 65534): 1030
[ ?? ] Listen using SSL (yes/no) [no]: yes
[ ?? ] Listen using both IPv4 and IPv6 (yes/no) [yes]:
[ .. ] Verifying the listener...
[ ** ] Enabled global modules [webadmin]
[ ** ]
[ ** ] -- Admin user settings --
[ ** ]
[ ?? ] Username (alphanumeric): irc_user
[ ?? ] Enter password:
[ ?? ] Confirm password:
[ ?? ] Nick [irc_user]:
[ ?? ] Alternate nick [irc_user_]:
[ ?? ] Ident [irc_user]:
[ ?? ] Real name (optional):
[ ?? ] Bind host (optional):
[ ** ] Enabled user modules [chansaver, controlpanel]
[ ** ]
[ ?? ] Set up a network? (yes/no) [yes]:
[ ** ]
[ ** ] -- Network settings --
[ ** ]
[ ?? ] Name [freenode]: oftc
[ ?? ] Server host (host only):
[ ?? ] Server host (host only):
[ ?? ] Server host (host only): irc.oftc.net #add channel you want to connect to here
[ ?? ] Server uses SSL? (yes/no) [no]: yes
[ ?? ] Server port (1 to 65535) [6697]:
[ ?? ] Server password (probably empty):
[ ?? ] Initial channels: #openstack-manila #add the channel you want to connect to here
[ ** ] Enabled network modules [simple_away]
[ ** ]
[ ** ]
[ ** ] To connect to this ZNC you need to connect to it as your IRC server
[ ** ] using the port that you supplied.  You have to supply your login info
[ ** ] as the IRC server password like this: user/network:pass.
[ ** ]
[ ** ] Try something like this in your IRC client...
[ ** ] /server <znc_server_ip> +1030 irc_user:<pass>
[ ** ]
[ ** ] To manage settings, users and networks, point your web browser to
[ ** ] https://<znc_server_ip>:1030/
[ ** ]
[ ?? ] Launch ZNC now? (yes/no) [yes]:
[ .. ] Opening config [/home/ubuntu/.znc/configs/znc.conf]...
[ .. ] Loading global module [webadmin]...
[ .. ] Binding to port [+1030]...
[ ** ] Loading user [irc_user]
[ ** ] Loading network [oftc]
[ .. ] Loading network module [simple_away]...
[ >> ] [/usr/local/lib/znc/simple_away.so]
[ .. ] Adding 1 servers...
[ .. ] Loading user module [chansaver]...
[ .. ] Loading user module [controlpanel]...
[ .. ] Forking into the background...
[ >> ] [pid: 2353819]
[ ** ] ZNC 1.8.2 - https://znc.in
Now ZNC is already installed on your machine. Go to your machine ip address port number on your browser to access the ZNC admin panel. For instance, if your ip address is 199.199.199.199 put https://199.199.199.199:1030 in your browser.
You will see a window as below:
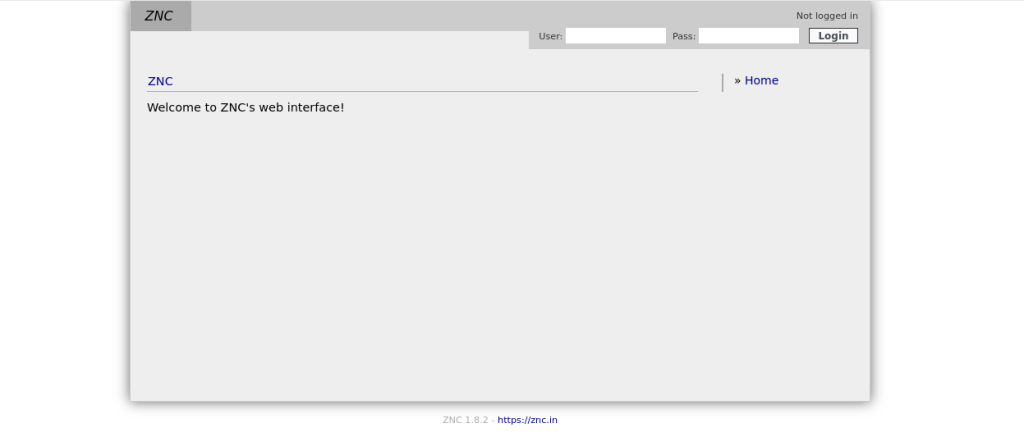
You are now set! Just login and get started
To use connect to IRC via the bouncer, type into your IRC client
/server_ip +1030 irc_username:irc_password and enjoy the persistent connection.
How to resolve issues
If access to ZNC web admin page is not possible and only returns a timed out connection page. Try the following
- Check If ZNC is running. This is done by running the command
pgrep -i zncon the instance where ZNC is installed. It should show the process id of ZNC. If there is no output, then you have to start the by running the commandzncthen try to point the browser to the znc admin url again. - If ZNC is found running after
pgrep -i znc, please look at the firewall rules or IP table rules or access rules that you might have in place then allow incoming TCP connections via the chosen port, in the case for this post, 1030

Leave a comment